Discover the most effective Cleaning Services in Winnipeg for a Fresh Residence
Wiki Article
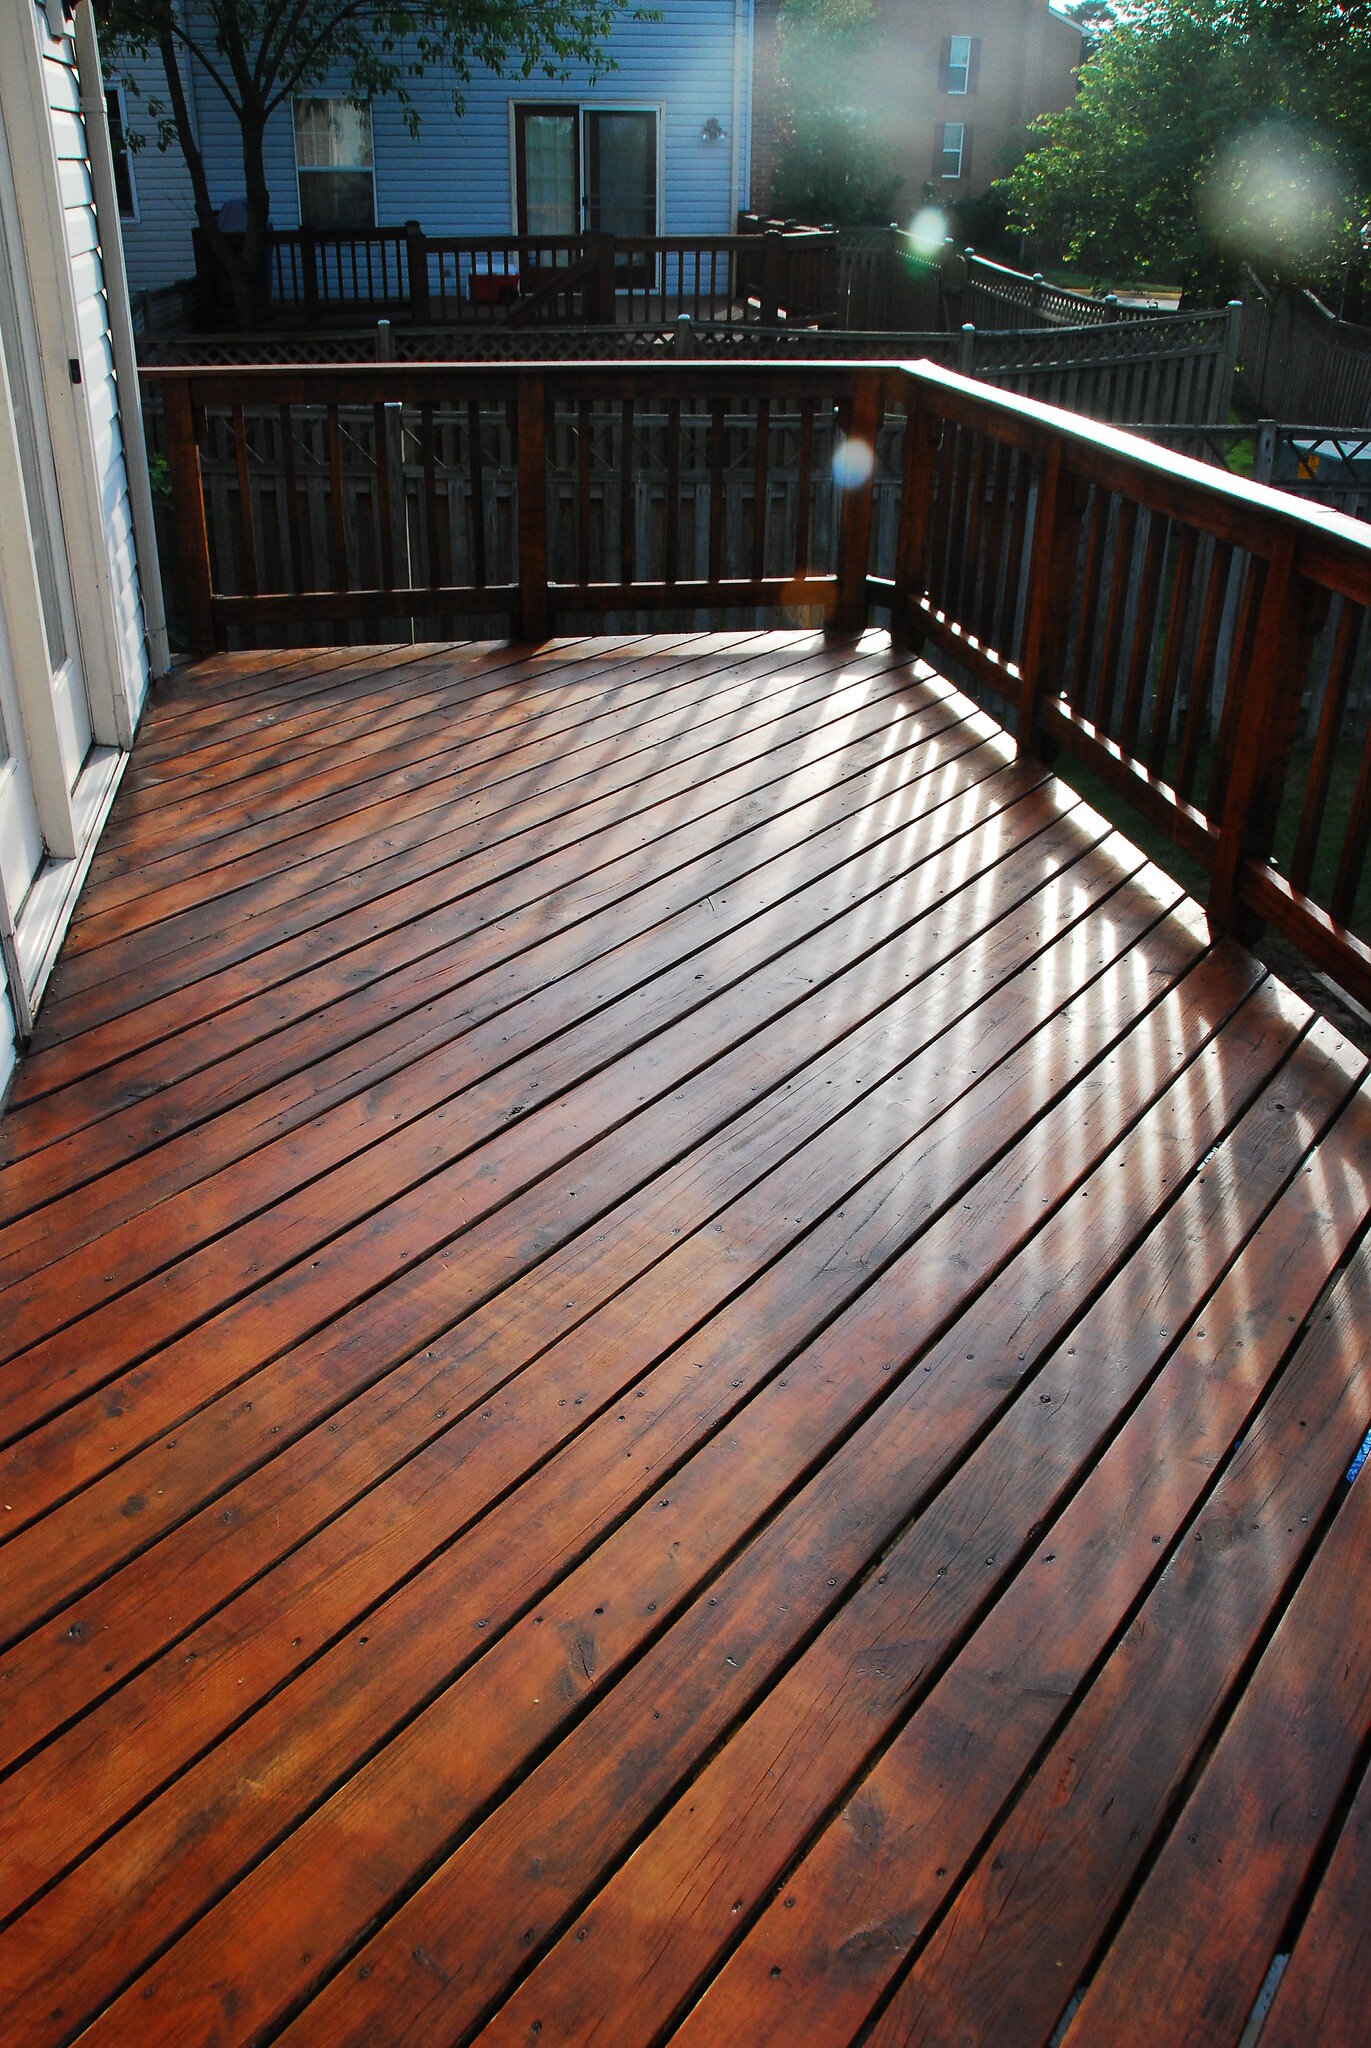
Deck Discoloration Made Easy: Step-by-Step Overview for DIY Lovers
Are you a do it yourself lover aiming to provide your deck a fresh make over? Look no more! In this detailed overview, we will certainly stroll you with the process of deck staining. From preparing the surface area to using the discolor, we have actually obtained you covered. With our easy-to-follow directions, you'll have the ability to transform your deck into a lovely outside area in no time at all. Grab your devices as well as let's obtain begun!Preparing the Deck Surface
Prior to you start staining the deck, make certain you're correctly cleaning as well as sanding the surface area. This step is crucial in ensuring a smooth as well as lasting coating. Begin by removing any type of furniture or plants from the deck. Sweep away any kind of loose dust or particles utilizing a mop. Then, utilize a power washing machine or a hose pipe with a high-pressure nozzle to extensively clean the deck. Pay very close attention to areas with persistent discolorations or mold, as well as use a deck cleaner or a combination of warm water as well as light detergent to treat them. After cleansing, allow the deck to dry entirely for a minimum of 24 hr.As soon as the deck is dry, it's time to sand the surface. Get a handheld orbital sander or a sanding block, as well as start sanding the deck boards in the instructions of the timber grain. This will certainly help eliminate any harsh areas, splinters, or old discolor (mccoys fence staining). Be sure to put on protective safety glasses as well as a dust mask to prevent any type of eye or breathing inflammation. Continue sanding until the whole deck surface area really feels smooth to the touch.
Choosing the Right Discoloration
When determining on the proper discolor, you'll want to think about the kind of timber you're working with. Various types of timber have various qualities that can influence exactly how well they absorb the discolor.In addition to the type of timber, you must also take into consideration the color you desire to accomplish. Discolorations can be found in a range of tones, from light to dark, and can substantially alter the appearance of your deck. If you're aiming to improve the all-natural color of the timber, pick a transparent or semi-transparent tarnish. These enable the timber grain to show with while including a subtle tip of color. For a more significant effect, go with a solid or nontransparent special info tarnish, which will completely cover the wood and also provide a strong, consistent color.
Last but not least, think of the level of security you desire for your deck. Discolorations with higher levels of pigment have a tendency to supply far better protection against UV rays and wetness. If your deck is revealed to rough weather, it's worth purchasing a discolor with added protective high qualities.
Cleansing as well as Fixing the Deck
Applying the Spot

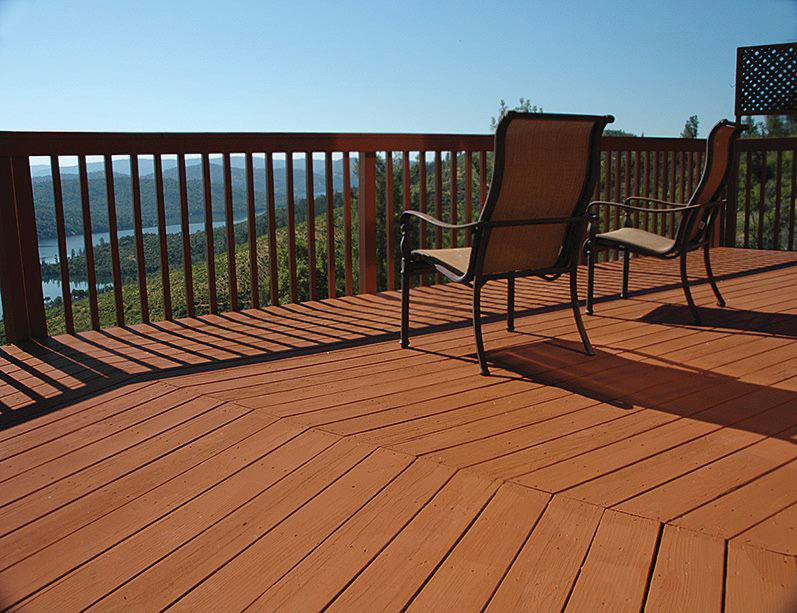
Finishing Touches and Maintenance Tips
After applying the final layer of stain, it's essential to regularly clean and also seal your deck to preserve its elegance and secure it from the elements. Choose a high-grade sealant that is particularly made for decks and useful source use it according to the maker's guidelines. It's recommended to apply a brand-new layer of sealant every 1-2 years to keep your deck looking its ideal.
Verdict
Report this wiki page